How To Snip In Mac – A Comprehensive Guide
Snipping on a Mac can be incredibly useful for capturing screenshots, snippets of text, or even portions of web pages.
To snip in Mac, use shortcuts like Command + Shift + 3 for full screen or Command + Shift + 4 for a selected area. Built-in tools like Grab or Preview are available or try third-party apps for advanced features.
This article will discuss “How To Snip In Mac”.
Understanding The Importance Of Snipping On Mac:
Snipping refers to the action of capturing a portion of your computer screen. It allows you to select a specific area, whether it’s an image, text, or any content displayed on your screen, and save it as an image file.
This captured snippet can then be used for various purposes, such as sharing with others, documenting information, or simply keeping a record for yourself.
Why Snipping Is Essential On Mac?
1. Efficient Communication:
Snipping allows you to capture and share information with others quickly. Whether you’re collaborating on a project, providing instructions, or troubleshooting an issue, sharing visual snippets can significantly enhance communication and understanding.
2. Documentation And Reference:
Snipping is an excellent way to document important information or save references for later use. Whether it’s capturing screenshots of error messages, saving snippets of research for a project, or archiving online receipts, snipping on Mac helps you keep organized and informed.
3. Creativity And Presentation:
Snipping tools on Mac offers various options for editing and annotating captured snippets. This allows you to unleash your creativity by adding notes, highlighting key points, or drawing attention to specific details.
Snippets can be used to create visually appealing presentations, tutorials, or instructional materials.
4. Productivity And Workflow:
By enabling quick and easy access to relevant information, snipping enhances your productivity and workflow. Instead of spending time describing something in the text or trying to remember details, you can capture a snippet and share it or refer to it whenever needed.
Different Ways To Snip In Mac:
1. Using Keyboard Shortcuts:
Mac provides convenient keyboard shortcuts for snipping, making it quick and easy to capture screenshots:
- Command + Shift + 3: Captures the entire screen and saves it as a file on your desktop.
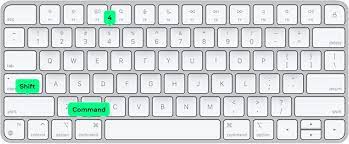
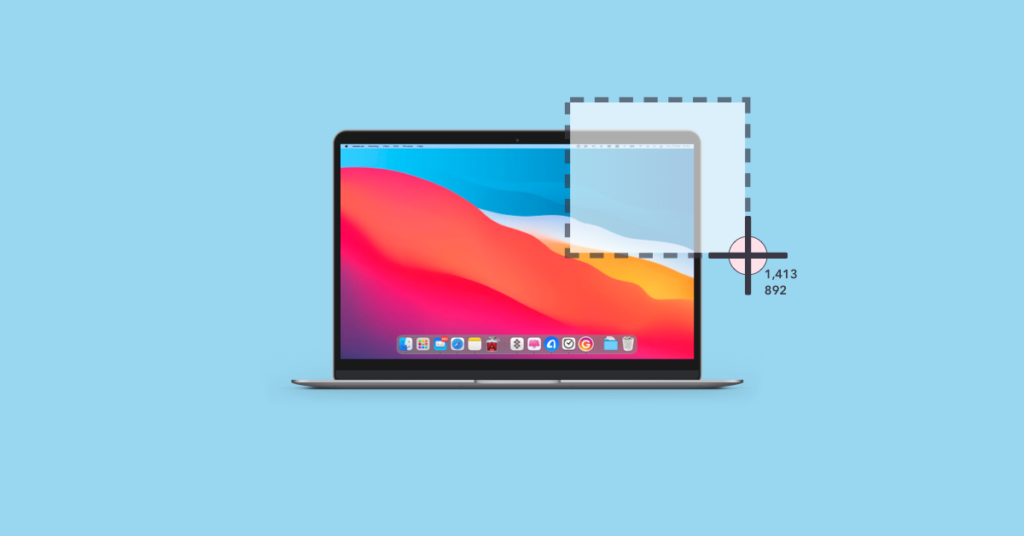
- Command + Shift + 4: Allows you to select a specific area on the screen to capture. After pressing this shortcut, your cursor will turn into a crosshair, allowing you to click and drag to select the desired area.
- Command + Shift + 4, then Spacebar: Captures a specific window. After pressing the initial shortcut, press the Spacebar, and the cursor will change to a camera icon. Click on the window you want to capture.
2. Utilizing Built-In Tools:
Mac comes with built-in snipping tools that offer additional features for capturing and editing screenshots:
- Grab: Located in the “Utilities” folder within the “Applications” folder, Grab provides options for capturing screenshots, including selection, window, screen, and timed screen captures. It also allows you to make simple annotations on the captured images.
- Preview: Although primarily used for viewing images and PDFs, Preview also offers basic snipping capabilities. Open Preview, go to “File”> “Take Screenshot,” and choose from options like selection, window, or entire screen capture.
3. Third-Party Snipping Tools:

For more advanced snipping features and customization options, you can explore third-party applications available for Mac:
- Snagit: A powerful screenshot and screen recording tool that offers various capture options, editing tools, and sharing capabilities.
- Skitch: Developed by Evernote, Skitch allows you to capture screenshots, annotate images with shapes and text, and share them effortlessly.
- Lightshot: A lightweight snipping tool that enables you to capture screenshots quickly, edit them with essential tools, and share them online.
Tips For Efficient Snipping On Mac:
1. Adjusting Settings For Better Results:
Customize keyboard shortcuts in System Preferences > Keyboard > Shortcuts to suit your preferences and workflow.
Adjust capture settings in third-party applications for optimal results, such as selecting the file format and quality of the captured screenshots.
2. Organizing Snips Effectively:
Create folders or use tags to organize your captured snips for easy access and retrieval.
Utilize naming conventions to quickly identify the content of each snip, making it easier to locate specific screenshots later on.
3. Integrating Snipping With Other Applications:
Use snipped images directly in presentations, documents, or emails for seamless integration and enhanced communication.
Explore automation tools or workflows to streamline repetitive snipping tasks and improve overall efficiency.
Common Issues And Troubleshooting:
1. Blurry Snips:
- Issue: Sometimes, captured snips may appear blurry or low-quality, especially when capturing high-resolution content.
- Troubleshooting: Ensure that the resolution settings are appropriate for the intended use. You can adjust the resolution settings in the preferences of your snipping tool or within the system settings of your Mac. Additionally, check for updates to your snipping tool or try using a different tool for capturing sharper images.
2. Snipping Tool Crashes:
- Issue: Snipping tools on Mac may occasionally crash or become unresponsive, disrupting your workflow.
- Troubleshooting: If your snipping tool crashes, try restarting the application and attempting the capture again. If the issue persists, check for updates to the snipping tool or your Mac’s operating system. Sometimes, conflicts with other software or system updates can cause instability in snipping tools, so ensure your software is up-to-date and compatible with your Mac.
3. Compatibility Issues With Third-Party Tools:
- Issue: Third-party snipping tools may encounter compatibility issues with specific versions of macOS or other software installed on your Mac.
- Troubleshooting: Verify the compatibility of the snipping tool with your Mac’s operating system version. Check the developer’s website for any updates or patches that may address compatibility issues. If the problem persists, consider using a different snipping tool that is known to be compatible with your Mac’s configuration.
Conclusion:
Mastering the art of snipping on your Mac can significantly improve your productivity and communication skills. Whether you’re capturing screenshots for documentation or sharing snippets with colleagues, knowing the various methods and tips for efficient snipping will make your workflow smoother and more effective.
FAQs:
1. Can I Edit The Captured Snips Using Built-In Tools On Mac?
Yes, Mac provides basic editing features in Preview, allowing you to annotate and make simple edits to captured images.
2. Are There Any Free Snipping Tools Available For Macs?
Yes, applications like Grab and Skitch offer free snipping features with basic editing options.
3. Can I Schedule Snips To Be Captured Automatically At Specific Times?
Some third-party applications like Snagit offer scheduling features for automated snipping tasks.
4. How Can I Share Snips With Others Efficiently?
Most snipping tools come with built-in sharing options, allowing you to email, message, or upload snips directly from the application.
5. Is Snipping Available On All Mac Models?
Yes, snipping features are available on all Mac models with compatible operating systems.
Read More: